Featured
New Rig Build
Featured
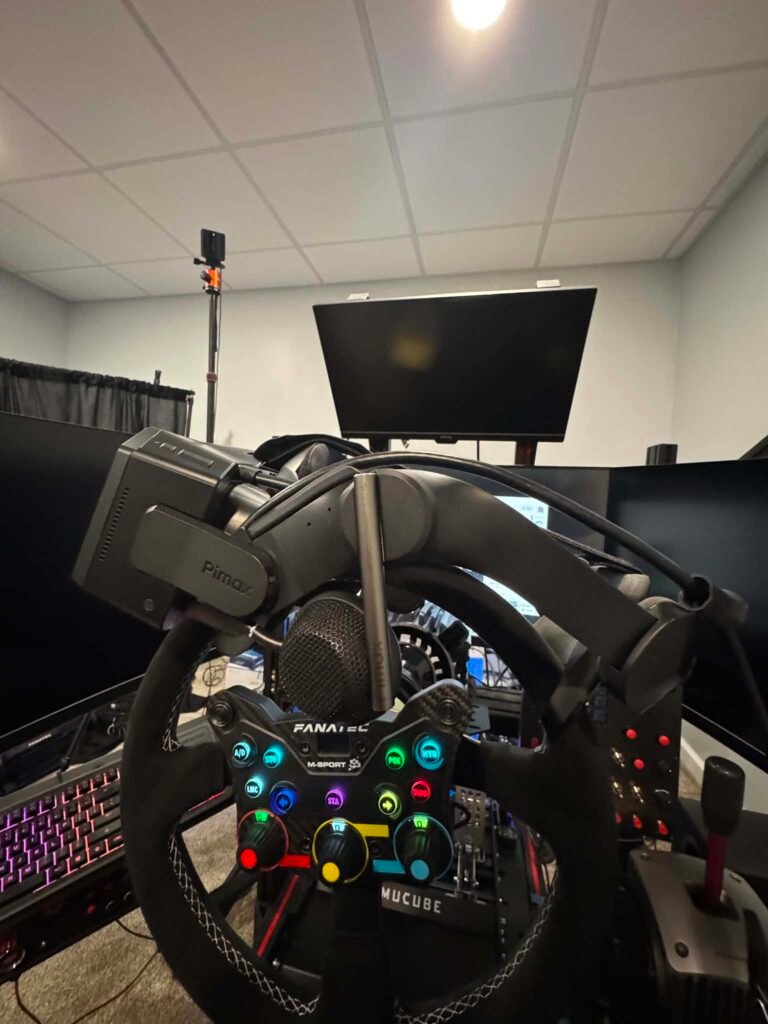
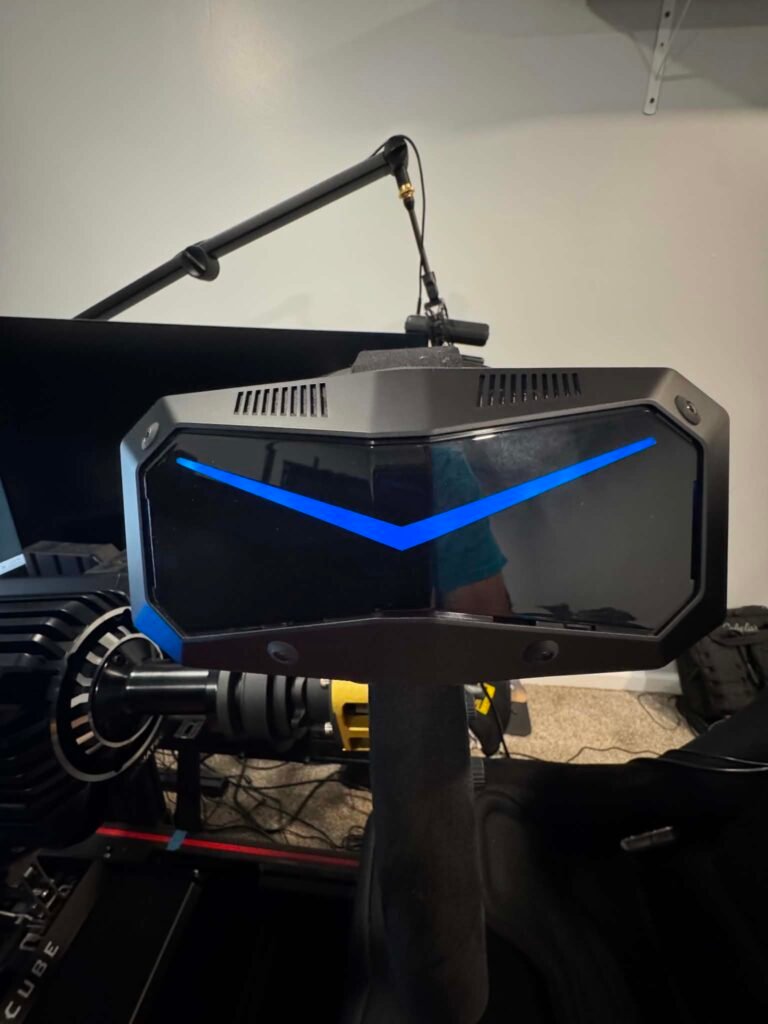
Pimax Dream Air iRacing Review: Is Its Ultra-Lightweight Design the Secret to Endurance Racing Comfort? (First 3 Hours)
The Most Surprising Thing About the Pimax Dream Air Isn’t the Resolution
When Pimax announced the Dream Air, most of the conversation focused on the specifications.
4K micro-OLED displays.
Eye tracking.
Motorized IPD adjustment.
Lighthouse tracking.
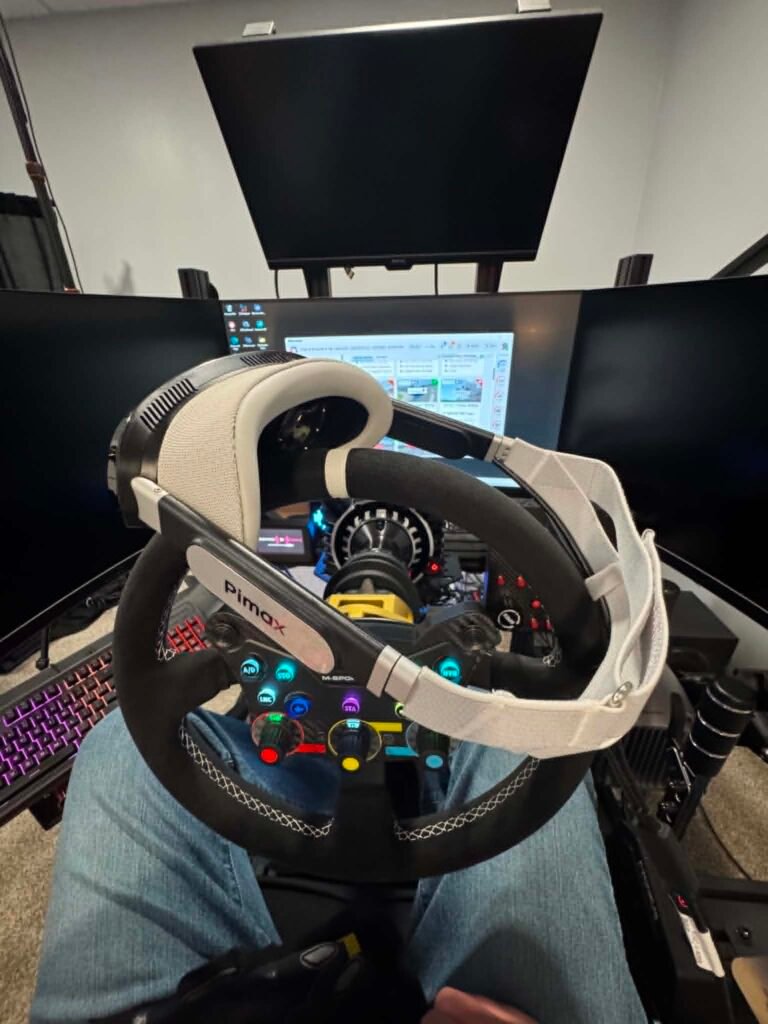
A headset weighing under 170 grams — lighter than many bananas.
That last detail sounds almost like a throwaway spec, but it’s actually one of the most striking things about the headset when you experience it.
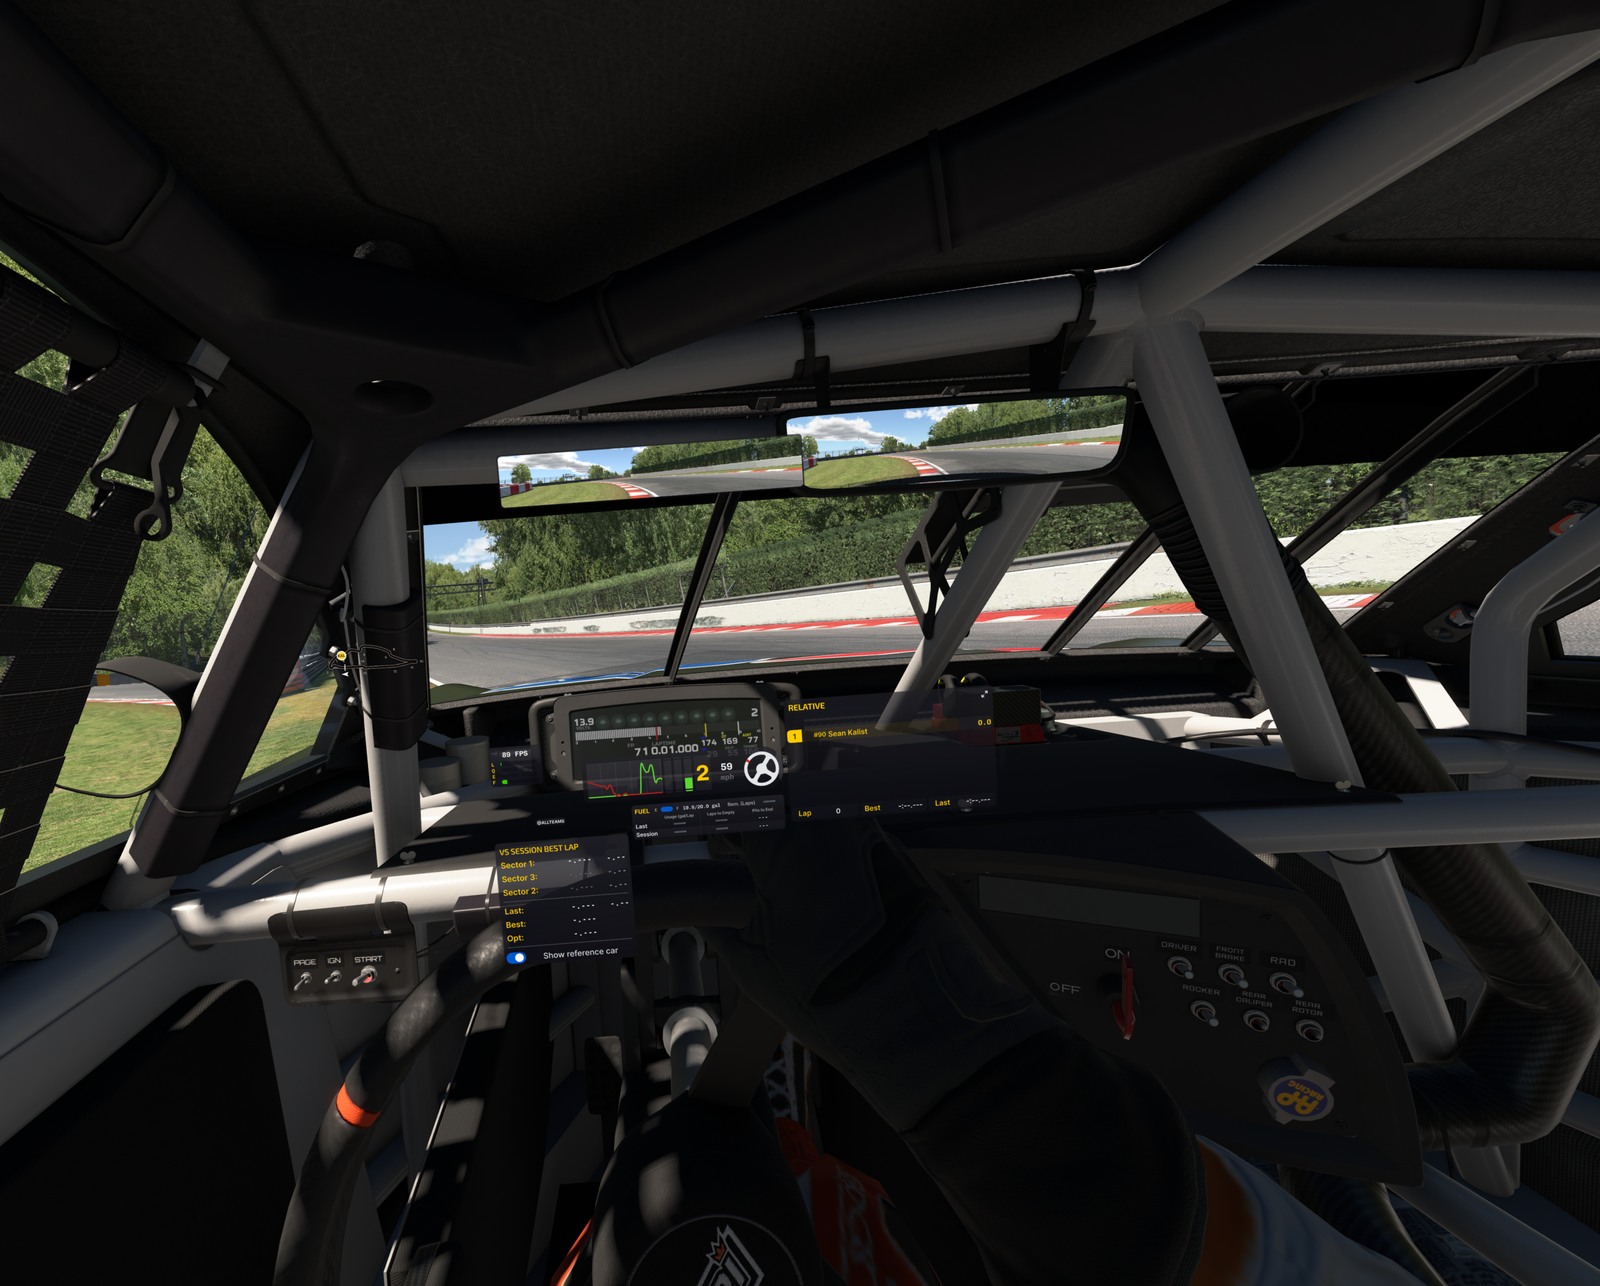
Those are impressive specs, but after spending roughly three hours racing with the Lighthouse version of the Dream Air in iRacing at EchoPark Speedway in the NASCAR Cup Series, I came away thinking about something completely different.
I think lightweight VR may be one of the most important advantages for endurance racing.
Not because it sounds good on a marketing slide.
Because I experienced it.
👉 Learn more about the Dream Air:
https://pimax.com/pages/dream-air?ref=sksimracing&utm_campaign=affiliate_promotions&utm_medium=affiliate&utm_source=goaffpro

We Talk About Resolution Too Much
As sim racers, we tend to focus on the easy things to measure.
Resolution.
Refresh rate.
Field of view.
Pixel density.
Those things absolutely matter.
But after years of VR development, most premium headsets have reached a point where visuals are already very strong. That shifts the conversation toward something else:
How does the headset feel after two hours?
Not two minutes.
Not a demo.
Not a hotlap.
A real race.
Because endurance racing exposes every weakness in a headset.
The Headset Started Disappearing
The biggest thing I noticed during my first night with the Dream Air wasn’t visual quality.
It was that I stopped noticing the headset.
That sounds strange, but VR veterans will understand exactly what I mean.
Every headset creates some level of awareness:
- pressure on your face
- neck fatigue
- forehead pressure
- weight shifting during head movement
You may not consciously think about it, but your brain is constantly processing it.
Three hours into my session, I realized I wasn’t thinking about the headset anymore.
I was thinking about racing.
That’s a huge distinction.
Why This Matters in NASCAR
EchoPark Speedway is not an oval where you are chasing braking points.
It’s a place where:
- traffic develops quickly
- positioning matters
- focus matters
- mistakes compound
The longer the run went, the more I appreciated the reduced weight.
Not because my neck hurt with other headsets.
But because there was simply less effort required.
Less headset awareness.
Less adjustment.
Less distraction.
That mental energy stays available for racing decisions instead.
The Unexpected Benefit: Mental Fatigue
This is something I rarely hear discussed in VR reviews.
Physical fatigue is obvious.
Mental fatigue is harder to identify.
Yet I think it’s just as important.
When you’re wearing a heavier headset, there’s a constant low-level reminder that you’re wearing equipment.
The Dream Air reduced that dramatically.
The headset became background noise.
And when the hardware fades away, immersion actually increases.
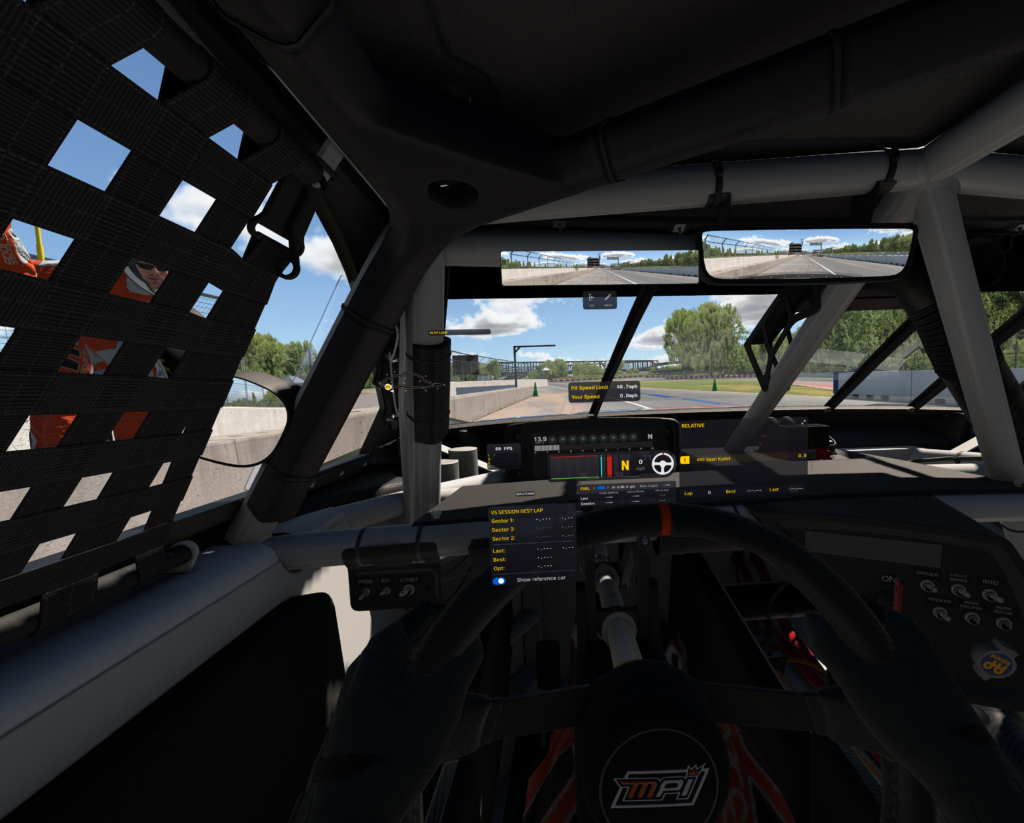
Traffic Felt Natural
One thing I’ve written about before with the Crystal Light is how VR improves confidence in traffic.
The Dream Air continued that trend.
Several times during the race I found myself running closer to competitors than I probably would on a traditional monitor setup.
Not because I was taking more risks.
Because I trusted what I was seeing.
Depth perception remains one of VR’s greatest strengths.
The Dream Air simply delivers it in a package that feels nearly effortless to wear.
The Visuals Are Every Bit as Good as Advertised
Let’s talk visuals for a moment.
Because they are outstanding.
The dual 4K micro-OLED displays deliver:
- exceptional sharpness
- strong contrast
- deep blacks
- excellent color reproduction
What stood out most was how clean everything looked.
Braking references.
Trackside objects.
Cars ahead.
Dashboard information.
Everything felt crisp and easy to focus on.
Based on my initial testing, the visual quality is clearly among the best I’ve experienced in VR so far.
Lightweight Without Compromise
What makes the Dream Air particularly interesting is that it doesn’t achieve its low weight by stripping features away.
At under 170g, it’s lighter than many bananas — yet it still includes:
- dual 4K micro-OLED displays
- eye tracking
- motorized IPD adjustment
- integrated audio
- Lighthouse tracking
That combination is unusual.
If you look at something like the Bigscreen Beyond 2, it’s also extremely lightweight and clearly designed with comfort in mind. But the Dream Air takes a different approach — delivering that same ultra-light feel while also packing in a broader set of high-end features.
That balance is what makes it stand out.
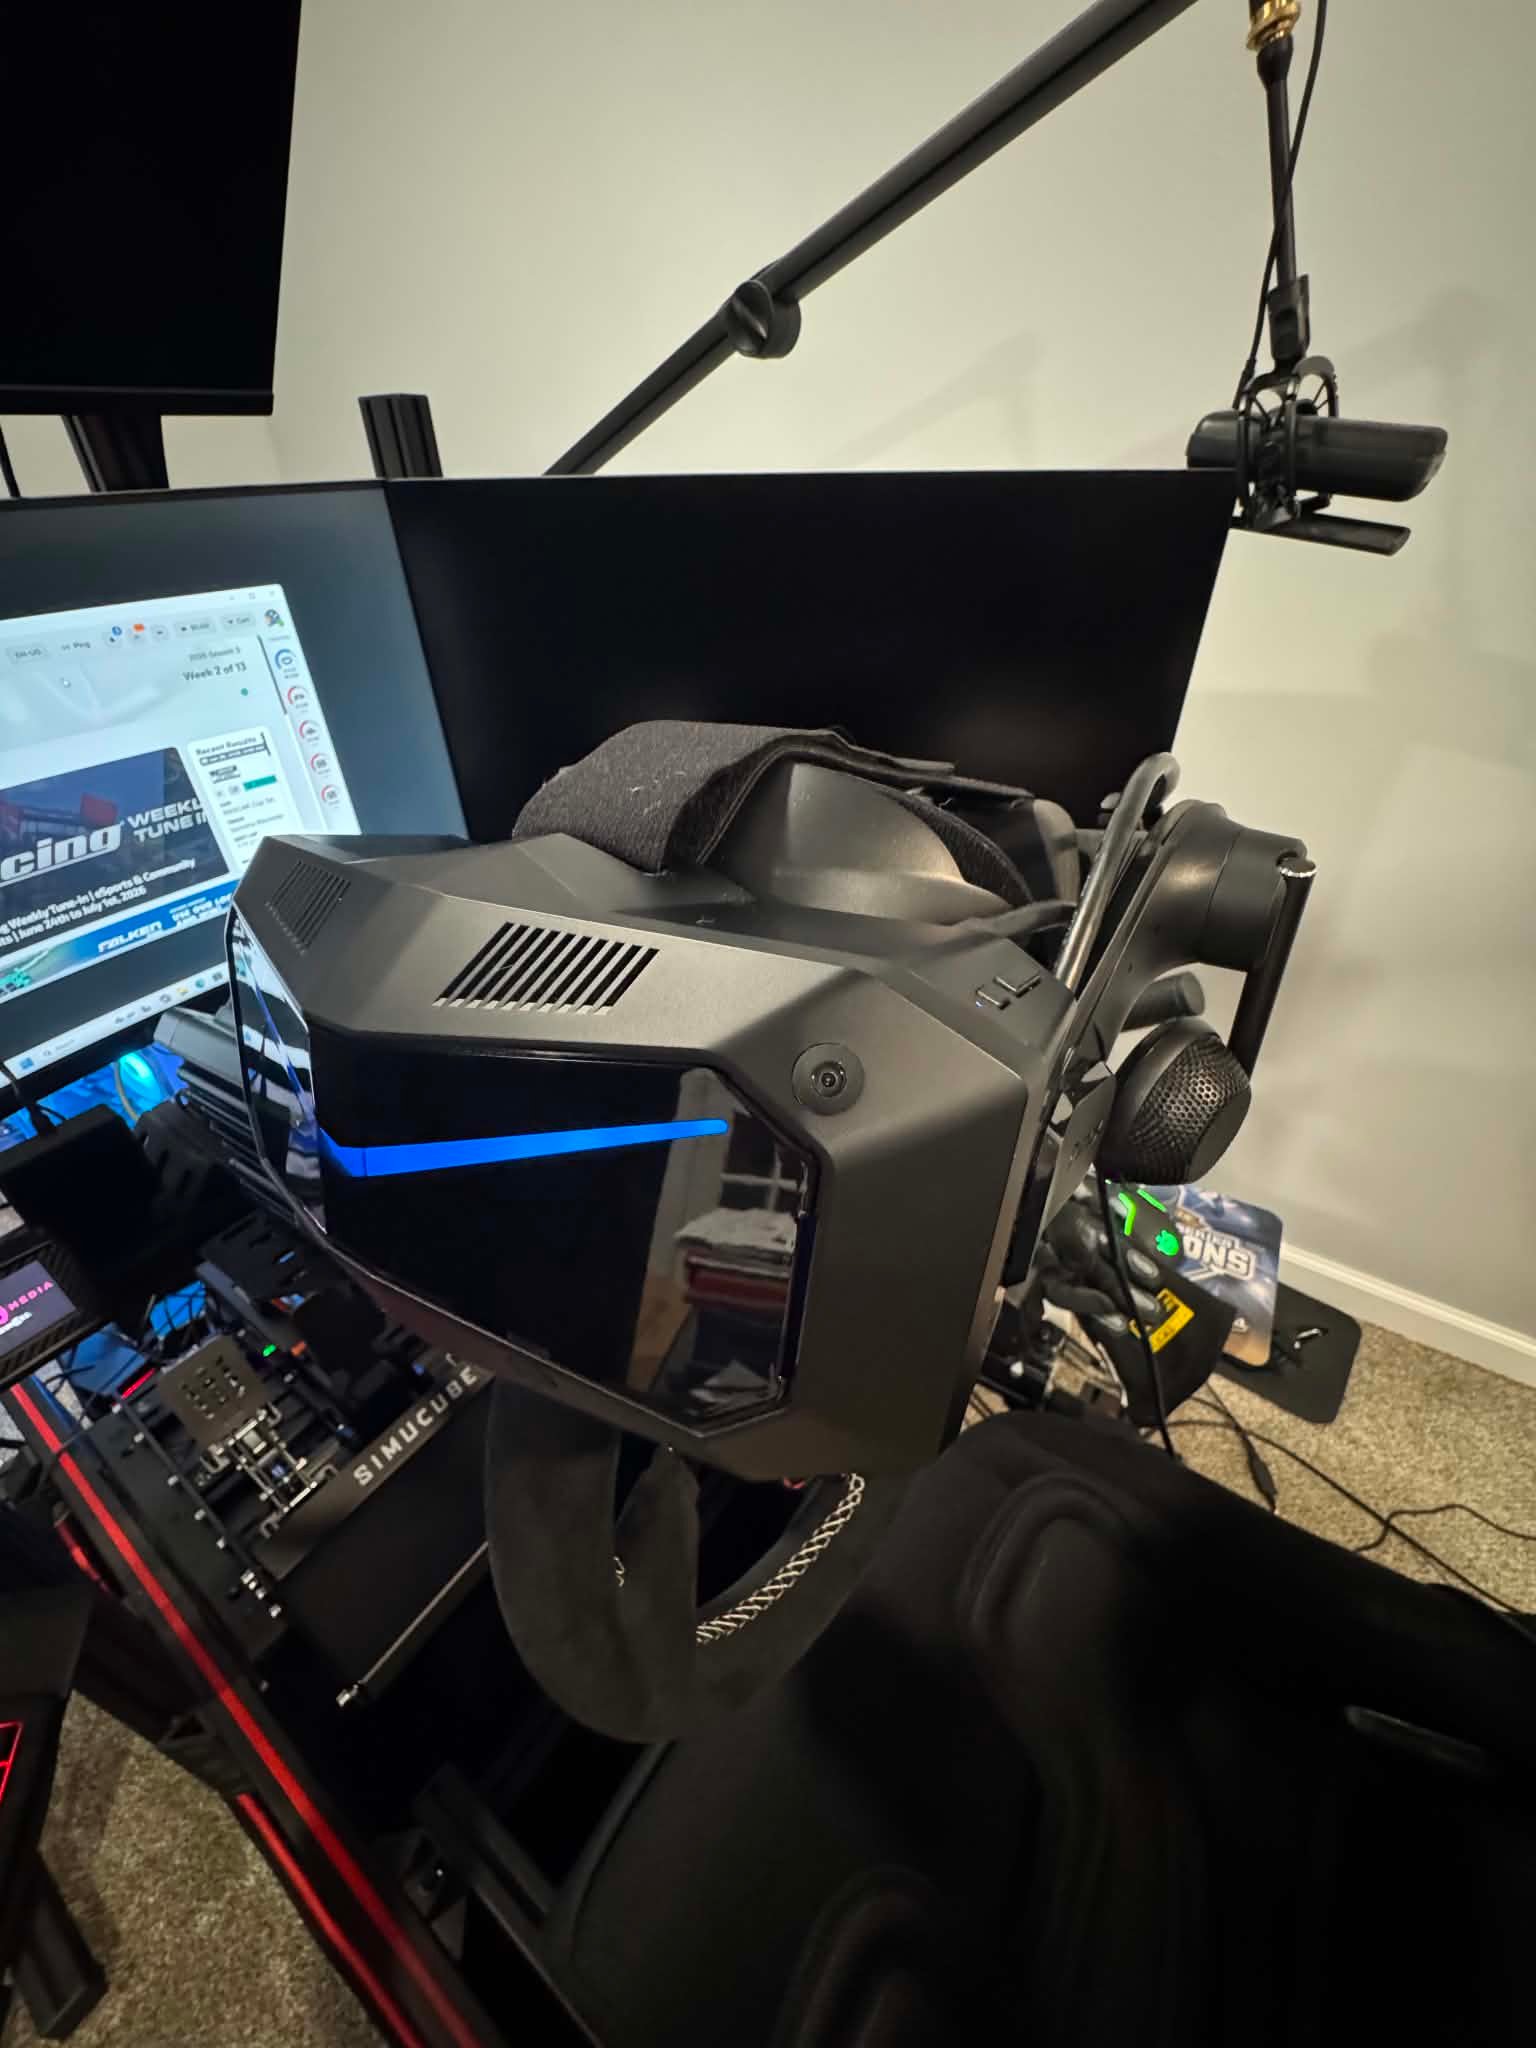
Lighthouse Tracking Remains My Preferred Setup
For sim racing, Lighthouse tracking continues to be my preferred solution.
Once the base stations are installed, they simply work.
The Dream Air Lighthouse version integrated easily into my existing setup.
For cockpit users, that’s a major advantage.
No extra setup every race night.
Just sit down and drive.
Could Lightweight Become More Important Than FOV?
This was the question I kept asking myself after the session.
For years the industry has chased:
- wider FOV
- more resolution
- more brightness
Those improvements are great.
But what if the next major leap isn’t purely visual?
What if it’s comfort?
What if the biggest upgrade is simply forgetting you’re wearing a headset?
After my first few hours with the Dream Air, I think that’s a very real possibility.
The Endurance Racing Test Still Awaits
Three hours is a great first impression.
But it’s not the final verdict.
The real test will come during:
- longer NASCAR races
- endurance events
- multi-hour practice sessions
- league racing
That’s where lightweight design should shine even more.
And honestly, that’s what I’m most excited to test next.
First Impressions: Extremely Promising
It’s still early.
I need significantly more seat time before making any final conclusions.
But my first takeaway is simple:
The Dream Air’s greatest strength may not be the displays.
It may not be the eye tracking.
It may not even be the motorized IPD.
It may be the fact that after several hours of racing, I largely forgot it was there.
And for endurance racing, that could be one of the most important advantages a VR headset can offer.
👉 Learn more about the Pimax Dream Air:
https://pimax.com/pages/dream-air?ref=sksimracing&utm_campaign=affiliate_promotions&utm_medium=affiliate&utm_source=goaffpro
What’s Next?
I’m planning additional testing with:
- Longer NASCAR events
- Road course racing
- Heavy traffic situations
- Extended endurance sessions
I’m particularly interested in seeing whether the reduced weight continues to provide advantages after four, five, or even six hours in the cockpit.
If the first three hours are any indication, Pimax may be onto something important—not just improving specs, but improving how VR feels over time.
Affiliate Disclosure: This article contains affiliate links. If you purchase through these links, SKSimRacing may earn a commission at no additional cost to you.
Media Disclosure: SKSimRacing has permission from Pimax to use product images and promotional materials featured in this article.

Featured
Is the Pimax Crystal Super Overkill for Most Sim Racers? After Several Hours in the 57 PPD Version, Here’s My Honest Opinion
Is the Pimax Crystal Super 57 PPD more VR headset than most sim racers actually need, or does it deliver meaningful advantages that only become apparent after hours behind the wheel? After spending several sessions racing in iRacing with the Crystal Super—equipped with DMAS headphones and the Ice Silk Facial Foam—I came away with a very different opinion than I expected. Here’s why “overkill” may not be the right word after all.
The Question I Kept Asking Myself
When I thought about whether the Crystal Super is “overkill” for sim racers, my first reaction was simple:
Probably.
After all, I had already spent a lot of time with the Crystal Light.
The Crystal Light is excellent.
It has become one of my favorite VR headsets for iRacing because it strikes an outstanding balance between clarity, performance, and value.
So naturally I wondered…
How much better could the Crystal Super really be?
After several hours using the 57 PPD Crystal Super, I don’t think the answer is as simple as yes or no.
👉 Learn more about the Crystal Super:
https://pimax.com/products/pimax-crystal-super?ref=sksimracing&utm_campaign=affiliate_promotions&utm_medium=affiliate&utm_source=goaffpro&variant=42548234190891
First Impressions Can Be Misleading
When people first put on a premium VR headset, they’re usually looking for a dramatic “wow” moment.
That’s actually not what happened to me.
Instead, the improvements revealed themselves gradually.
After a few laps…
After a few battles…
After settling into traffic…
I realized something interesting.
I wasn’t noticing one huge improvement.
I was noticing dozens of little improvements.
And those small improvements started adding up.
The Difference Isn’t Just Resolution
Obviously the Crystal Super is incredibly sharp.
That’s expected.
But what surprised me wasn’t simply the amount of detail.
It was how effortless it became to process everything happening around me.
Cars farther ahead remained easier to identify.
Trackside reference points stayed incredibly crisp.
Dashboard information felt almost effortless to read.
I wasn’t constantly refocusing my eyes.
Everything simply looked… natural.
The 57 PPD Experience
The 57 PPD version isn’t chasing impressive specifications for their own sake.
Instead, the higher pixel density changes how your brain processes the race.
You’re no longer trying to interpret blurry information.
You’re simply driving.
That distinction became more noticeable the longer I raced.
The headset almost disappears because your eyes stop working as hard.
The Unexpected Comfort Upgrade
One thing worth mentioning is my setup.
For these sessions I installed:
Honestly, I think both are worthwhile upgrades.
The DMAS headphones provide fuller, more immersive audio while eliminating the need for separate headphones.
The Ice Silk Facial Foam may sound like a small accessory, but after several hours it makes a noticeable difference.
Heat buildup is reduced.
The interface feels cooler against your face.
It’s a simple change that contributes to long-session comfort.
As someone who frequently spends multiple hours in iRacing, those little improvements matter.
Is This Where “Overkill” Stops Being Overkill?
Here’s where my opinion changed.
If your goal is simply to experience VR…
Yes.
The Crystal Super is probably more than you need.
But serious sim racing isn’t about simply experiencing VR.
It’s about reducing distractions.
Every improvement that lets you focus more on driving has value.
The Crystal Super doesn’t make me faster overnight.
What it does is remove friction.
Less eye strain.
Less visual uncertainty.
Less effort interpreting distant objects.
More confidence.
Those things accumulate over a two-hour race.
What Stood Out Most During Racing
The biggest surprise wasn’t the center of the image.
It was consistency across my entire field of view.
During side-by-side racing I wasn’t constantly moving my head trying to verify what I was seeing.
Everything stayed remarkably clear.
That helped in several situations where I felt comfortable committing to a line because I trusted the information I was receiving.
That’s difficult to quantify.
But it’s something you absolutely notice.
Crystal Light vs Crystal Super
This is probably the question everyone wants answered.
Here’s how I currently see it.
| Crystal Light | Crystal Super 57 PPD |
|---|---|
| Outstanding value | Premium no-compromise experience |
| Easier on GPU requirements | Maximum visual fidelity |
| Excellent for most racers | Built for enthusiasts chasing every advantage |
| My recommendation for many users | My recommendation if budget isn’t the limiting factor |
Would I still recommend the Crystal Light?
Absolutely.
In fact, for many readers it’s probably still the smarter purchase.
But after spending real time inside the Crystal Super, I understand exactly who it’s built for.
Who Should Buy the Crystal Super?
I think the Crystal Super makes the most sense if you:
- Race multiple nights every week.
- Spend hours at a time in VR.
- Already own a high-end PC.
- Value visual clarity as much as force feedback.
- Want to build a long-term cockpit without wondering “what if.”
If that sounds like you…
No.
I don’t think it’s overkill.
I think it’s exactly what Pimax intended it to be.
My Biggest Takeaway
If you’d asked me before trying it, I would have said the Crystal Super was probably beyond what most sim racers needed.
After actually racing with it…
My opinion changed.
Not because of one spectacular feature.
But because of how many tiny improvements quietly disappeared into the background until all that was left was the race.
The headset stopped being something I was evaluating.
It became something I trusted.
And for me, that’s the highest compliment I can give any piece of sim racing hardware.
Final Verdict
Is the Crystal Super overkill?
For casual VR users?
Probably.
For someone who races iRacing once a month?
Maybe.
For someone who spends several nights a week chasing hundredths of a second, building a dedicated cockpit, and wanting the most refined visual experience available today?
I don’t think “overkill” is the right word anymore.
I think it’s purpose-built.
👉 If you’d like to learn more about the Crystal Super or see the latest configurations, you can check them out here: https://pimax.com/pages/pimax-crystal-super?ref=sksimracing
I’ll continue putting more hours on the Super as well as the “Dream Air” headset over the coming weeks, including longer NASCAR races, road courses, and endurance sessions. As I spend more time with it, I’ll be sharing additional impressions here on SKSimRacing.
Affiliate Disclosure: This article contains affiliate links. If you purchase through these links, SKSimRacing may earn a commission at no additional cost to you. These partnerships help support the reviews and testing you see on this site.
Media Disclosure: SKSimRacing has permission from Pimax to use product images and promotional materials featured in this article.
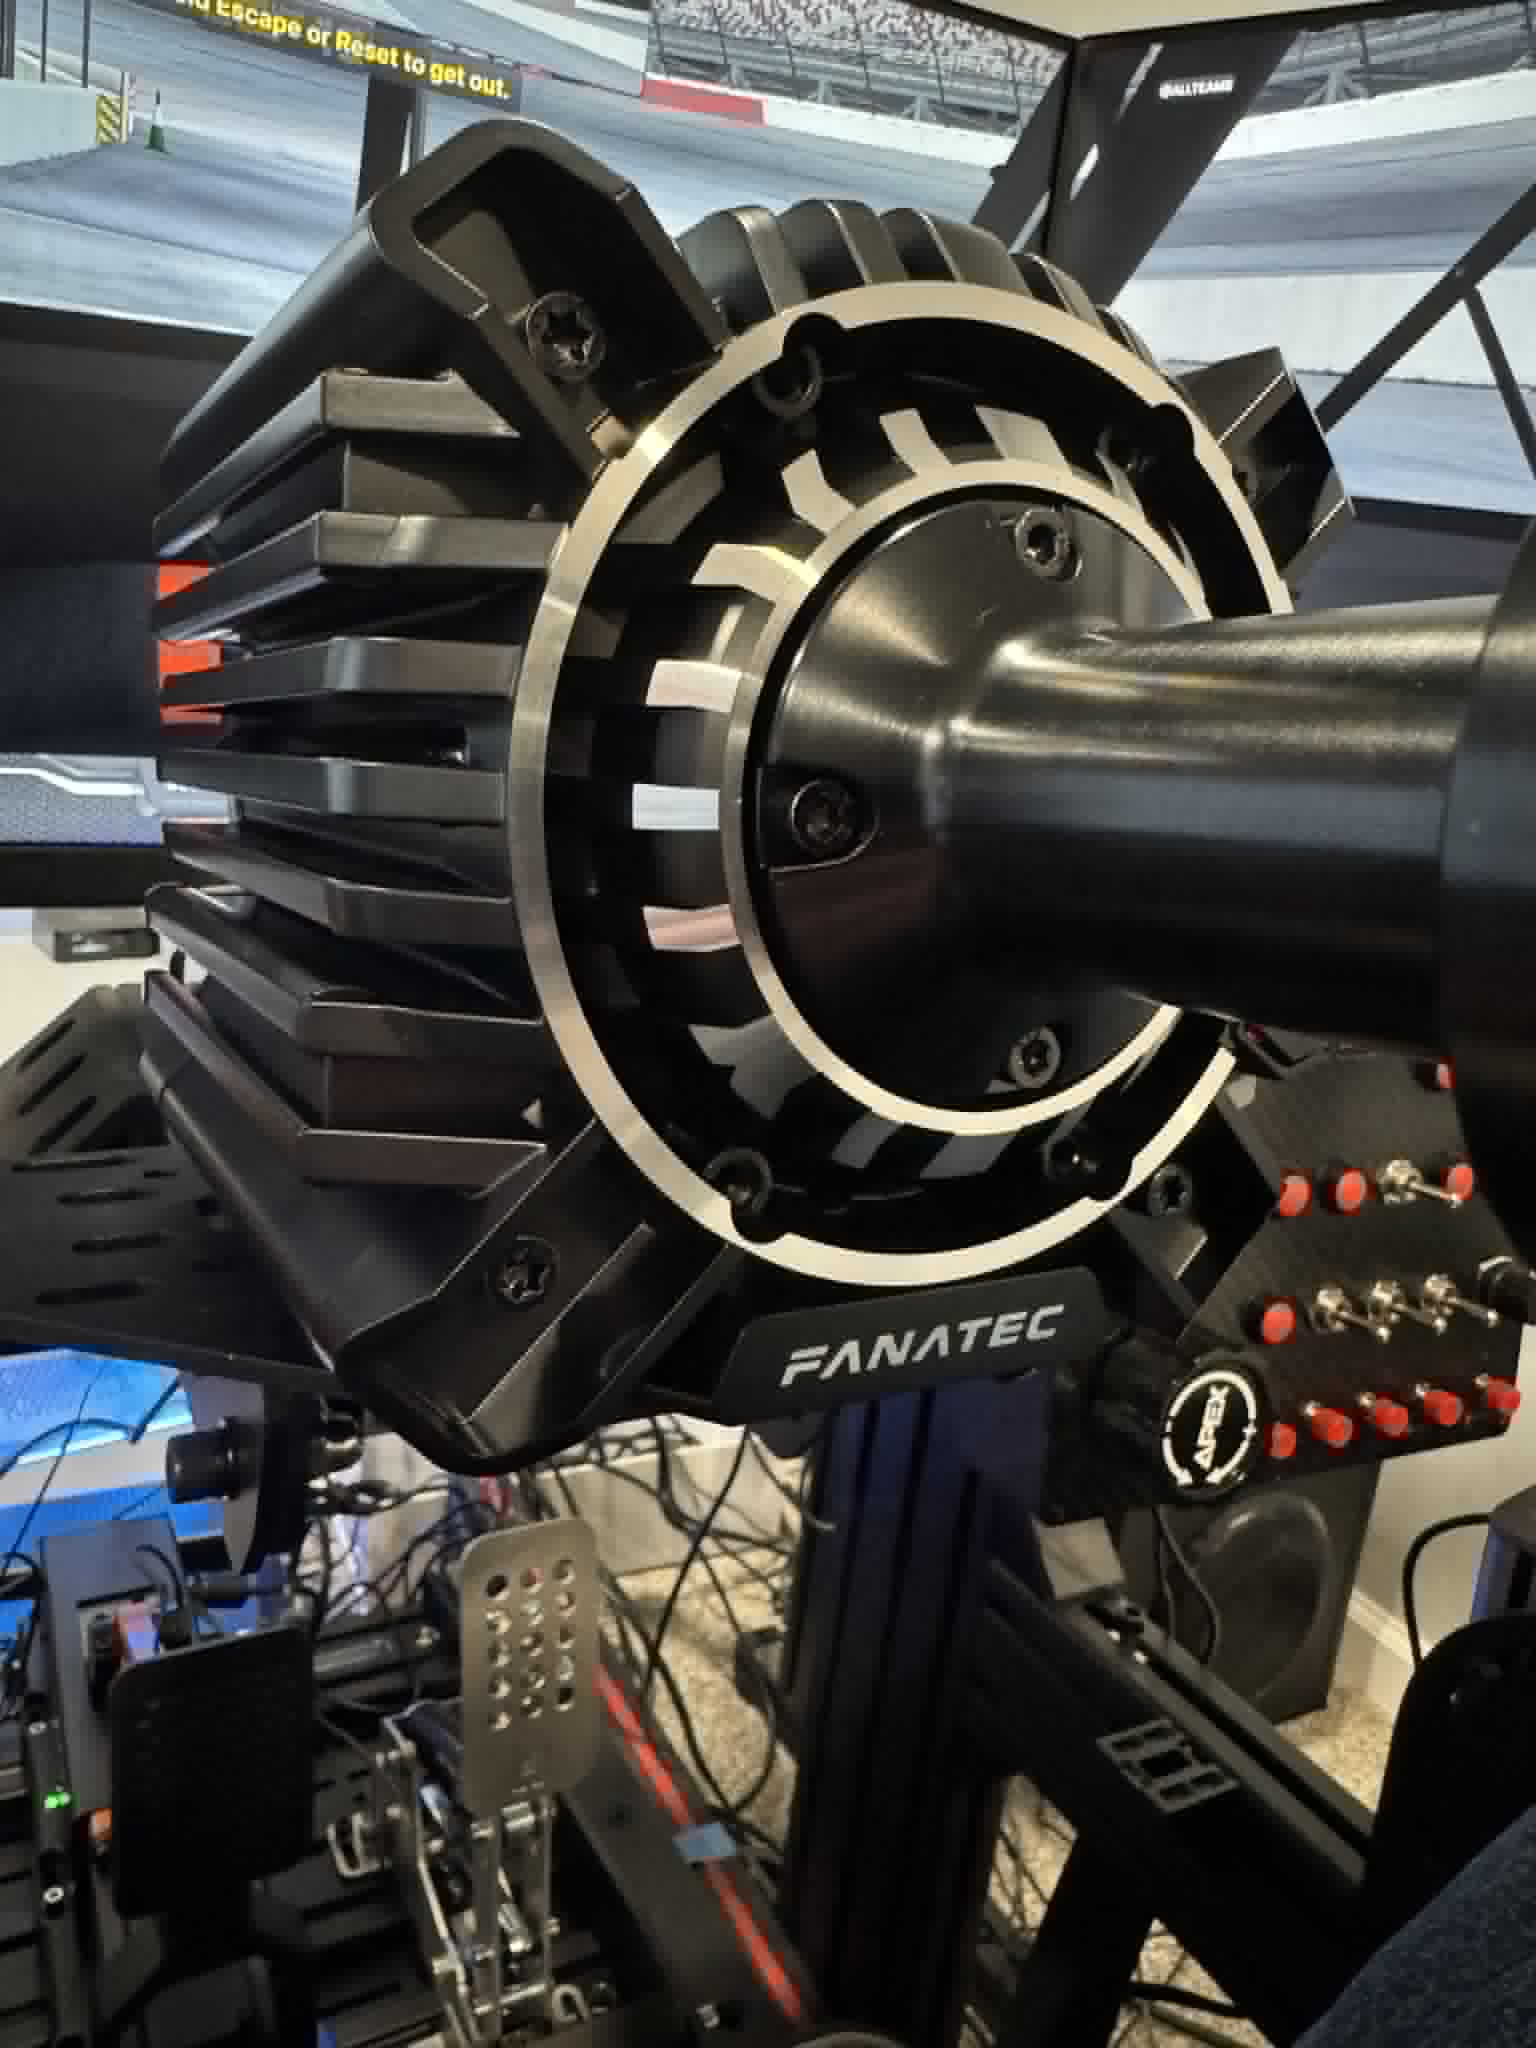
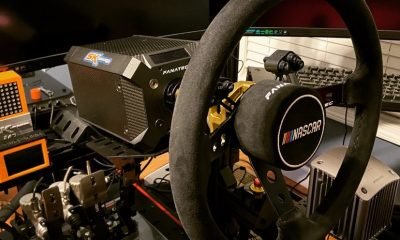
A few months ago, I published my first impressions of the Fanatec Podium DD after three NASCAR Next Gen league races and roughly four hours behind the wheel.
At the time, I was impressed by the wheelbase’s smoothness, fidelity, and ability to communicate subtle details from the racing surface.
Now, after approximately 20 hours of use, I can confidently say those early impressions were not a honeymoon phase.
If anything, the Podium DD continues to impress the more time I spend with it.
And this week’s NASCAR schedule provided the perfect test.
Sonoma Separates Good Hardware From Great Hardware
This week, our NASCAR Next Gen league headed to Sonoma Raceway.
For many oval racers, Sonoma can be one of the most challenging tracks on the calendar.
Unlike superspeedways or intermediate ovals, Sonoma demands precision. Every braking zone, every curb, every elevation change, and every corner exit matters.
That makes it a fantastic place to evaluate a direct drive wheelbase.
The Fanatec Podium DD absolutely shined.
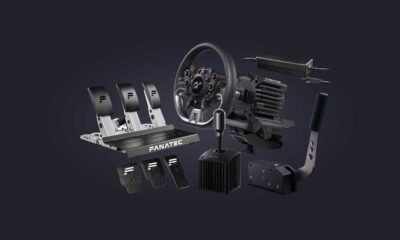
If you’d like to see the current Fanatec Summer Sale, check it out here:
👉 https://fanatec.sjv.io/7XGMAQ

The Fidelity Continues to Impress
The word I keep coming back to is fidelity.
Many wheelbases are capable of producing strong force feedback.
Far fewer are capable of delivering meaningful information without overwhelming the driver.
The Podium DD continues to strike that balance exceptionally well.
At Sonoma, I could clearly feel:
- Changes in grip level throughout the lap
- Weight transfer during heavy braking
- Front tire loading entering corners
- Subtle curb strikes
- Surface transitions across the racing line
- Rear tire movement during corner exit
Nothing felt exaggerated.
Nothing felt artificial.
Instead, the wheel communicated exactly what the car was doing while remaining remarkably smooth.
Smoothness Matters More Than Maximum Torque
When sim racers discuss premium wheelbases, torque numbers often dominate the conversation.
But after spending significant time with the Podium DD, I believe smoothness may be its most underrated strength.
There is never a feeling that the wheel is fighting itself.
There is no harshness.
No unnecessary spikes.
Just a constant flow of information coming through the steering wheel.
That smoothness allows the finer details to stand out.
Instead of sorting through noise, you’re processing useful information.
And when you’re trying to thread a NASCAR Next Gen car through Sonoma’s technical sections, that matters.
Building Confidence Every Lap
One of the biggest surprises over these first 20 hours is how much confidence the wheelbase inspires.
As drivers, confidence often comes from predictability.
The better you understand what the car is doing, the closer you can operate to the limit.
The Podium DD consistently provides that understanding.
Whether it’s the front tires beginning to push, the rear tires starting to rotate, or the car loading up during braking, the information arrives early and clearly.
That’s particularly valuable on a circuit like Sonoma where mistakes are punished quickly.
Fanatec’s Summer Sale Has Arrived
Interestingly, this update comes at the same time Fanatec has launched its Summer Sale.
For sim racers who have been waiting to upgrade their equipment, this may be one of the better opportunities of the year.
You can view the Summer Sale here:
👉 https://fanatec.sjv.io/7XGMAQ
As someone currently spending significant time testing the Podium DD, I can honestly say it has exceeded my expectations so far.
What’s Next?
Twenty hours is enough to move beyond first impressions.
But it’s still early in the overall testing process.
Over the coming weeks I’ll continue evaluating the Podium DD across:
- NASCAR Next Gen oval racing
- Additional road course events
- Long-run tire management scenarios
- Different wheel configurations
- Comparisons against other Fanatec wheelbases
- Additional iRacing disciplines
I also want to continue exploring a question many racers are asking:
How much better is the Podium DD than the ClubSport DD+ in real-world racing situations?
The answer is becoming clearer every week.
Final Thoughts After 20 Hours
After roughly 20 hours behind the wheel, the Fanatec Podium DD continues to impress.
Its combination of smoothness, fidelity, detail, and consistency creates an experience that feels genuinely premium.
Sonoma Raceway has been one of the best tests yet, and the wheelbase handled everything the NASCAR Next Gen car could throw at it.
More importantly, it continues to do what every great piece of sim racing hardware should do:
Help you feel connected to the car.
For me, that’s been the biggest takeaway so far.
If you’re interested in checking out Fanatec’s Summer Sale or learning more about the products currently available, visit:
👉 https://fanatec.sjv.io/7XGMAQ
Stay tuned to SKSimRacing.com as I continue putting more laps, more races, and more hours on the Podium DD.
The full review is still coming.
🔗 Affiliate links – I may earn a small commission at no extra cost to you.-
 Featured3 years ago
Rev Up Your Sim Racing Experience with SK Sim Racing: Discover High-Quality Sim Wheels, Pedals, Shifters & More – Exclusive Discounts and Offers Await!
-
 Products3 years ago
Boost Your Sim Racing Experience with Exclusive Deals from Fanatec, Digital-Motorsports, Demon-Tweeks, Ricmotech & Trak Racer
-
 Featured5 years ago
Rev Up with The Oval Wheel: Unleash the Thrill of Racing
-
 Featured3 years ago
Fanatec Sim Racing Wheel Ultimate Buyer’s Guide 2024-2025
-
 Sim Racing3 years ago
Experience the Thrill of Virtual Racing: Unlocking the Exciting World of Sim Racing and Beyond!
-
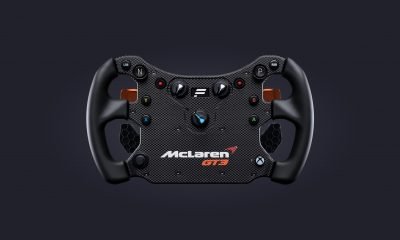
 Featured5 years ago
Fanatec CSL Elite Steering Wheel McLaren GT3 V2
-
 Products6 years ago
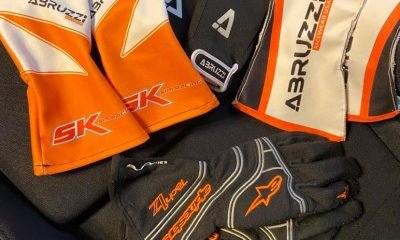
Sim Racing Gloves
-
 Products5 years ago
You have to Shift !